Imagine this scene: your customer arrives in your showroom. As soon as he enters, his eyes are drawn to a vehicle that turns slowly under careful lighting. No need to move to admire it from all angles. Fascinating, isn’t it? However, there is nothing mysterious about installing a turntable, and I will explain everything to you.
What is a car turntable?
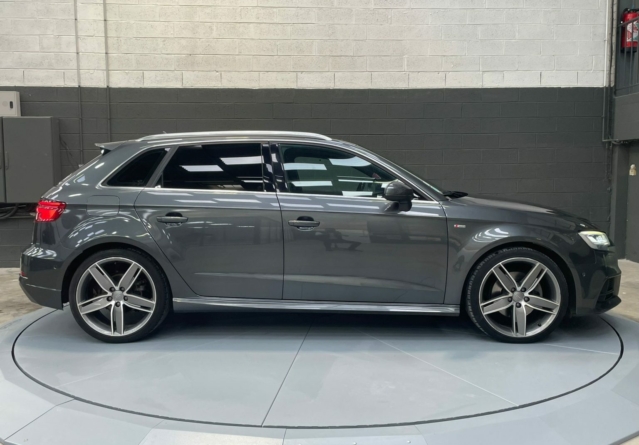
A car turntable is more than just a motorized platform. It is designed to showcase your vehicles while solving practical problems such as maneuvering in tight spaces.
Its main characteristics:
- Installation adapted to your needs: embedded in the ground or placed above ground.
- Robust materials: galvanized steel or aluminum, guaranteeing a long service life.
- Smooth and quiet rotation: thanks to high-performance motors and high-quality bearings.
- Remote control: for simple and intuitive use.
Tip: Consider PVC skirts to dress up your set and give it an even more professional look. They can also be used as advertising media.
Common uses:
- Showrooms and car dealerships: Enhance your vehicles from every angle.
- Photo studios: Ideal for capturing perfect shots without tedious manipulations.
- Garages and tight spaces: Simplify maneuvering in places where every inch counts.
- Private or professional parking: Maximize the available space.
Steps for installing a turntable
Installing a turntable is a bit like putting together a high-end piece of furniture: everything is precise, nothing is left to chance. Here’s how it’s done.
Needs analysis and preparation
The first step is to understand your project. We discuss your expectations together:
- What will be the main use of the turntable? Presentation of vehicles in a showroom? Arrangement of a practical parking lot?
- What dimensions do you want? Standard diameters range from 1 to 10 meters.
- Do you prefer above-ground or recessed installation?
Good to know: A stable, level surface capable of supporting the load (platform + vehicle) is essential. If you have any doubts, we will assist you in this assessment.
Preparing the installation site
Installation varies depending on your choice:
- Above ground: We prepare a concrete slab or a pre-existing base to place the tray.
- Recessed: This requires digging a hole in the ground. This solution is ideal for discreet integration.
Note: Having access to a standard electrical outlet (220V) makes installation much easier.
Installation of the structure
Then comes the time for assembly, often done in one day:
- Assembly: We assemble the steel or aluminum structure and install the bearings to ensure smooth rotation.
- Motor positioning: Depending on your needs, the motor can be recessed or offset above ground.
- Adding accessories: Access ramps, finishing skirts or control panel.
Electrical connection
The board is connected to a reliable power source:
- Wiring: We check the connections for optimal operation.
- Safety tests: Overcurrent protections are activated.
Tip: Provide an accessible control panel. You can easily adjust the speed or direction of rotation.
After installation: regular maintenance
Once installed, your turntable will require little maintenance. But a few simple steps will extend its lifespan:
- Lubrication: A little oil on the bearings ensures smooth rotation.
- Cleaning: Keep components clean to prevent dust accumulation.
- Inspection: Check the electrical system and moving parts every six months.
Good to know: In the event of a breakdown, our team is there to support you. One call is enough to resolve most problems. Request your personalized quote today! Click here or call us directly at 01 23 45 67 89. Our team supports you from assessment to installation, for a “turnkey” solution.